We love creating small world scenes, but why not add an extra level of learning by incorporating ICT into the mix? Create your own basic stop motion animation. You can do this with Lego set ups or any small world scene that you create in any theme.

Most of our small world scenes are created in the Tuff Spot as it keeps everything really well contained. For this scene, you could cover the tray in silver tin foil to give a more icy feel, adding sensory items such as ice cubes. You could even freeze a large tupperware or two of water to add to the scene as icebergs or frozen mountains.
This activity keeps children occupied for hours – setting up their scene, thinking about characters and the story that they want to create. Children are incredibly proud to see all of their hard work once the animation is finished – showing it to family and friends and even uploading it to YouTube!
You will need:
- Items to create a small world scene
- A camera phone with a stop motion app downloaded
- A tripod to keep your phone camera still
- Props to make your animation come to life – such as snow for this scene
Set up your small world scene and think about a story that you could capture. At this point, it might be a good idea to do a storyboard – drawing out the beginning, middle and end.
Top Tip: Ensure that you set your scene up where there is a good natural light.
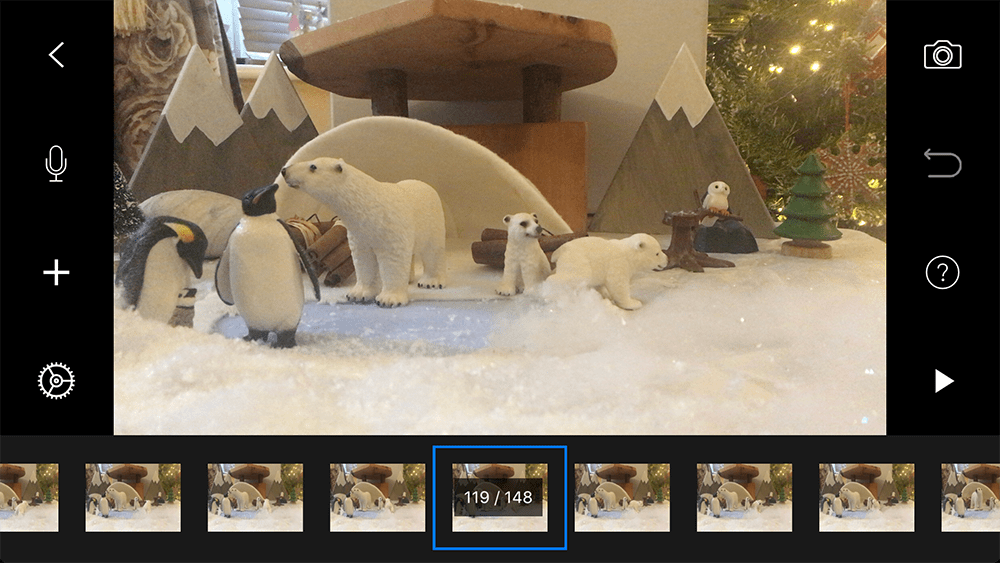
The idea is, using the app (we used Stop Motion Studio) – to take a photo every time you move a piece on the scene. So, for example, if you want the polar bear to move across the scene – you take a photo of him standing in his starting position, then move him one step, take a photo, move him forward another step, take a photo and so on. Keep it simple to begin with, moving one character or animal at a time. But you can start to get clever by moving two characters/animals at a time – being careful to only move them one step at a time, taking a photo after each small movement. You end up with hundreds of photos, which are placed together to create your animation.
Top Tip: Move characters in small steps or your animation ends up jerky and not very smooth. You can alter the settings so that each photo is shown for a longer or shorter amount of time before it moves onto the next – making it smoother – we recommend 3 seconds.
As you get more advanced you can add falling snow, voices and can even zoom in or move the camera into the scene for close ups of certain areas.
The app will add all the photos together for you and you can play it back to ensure that you haven’t made any mistakes. You can also amend, remove and add in photos where you need.
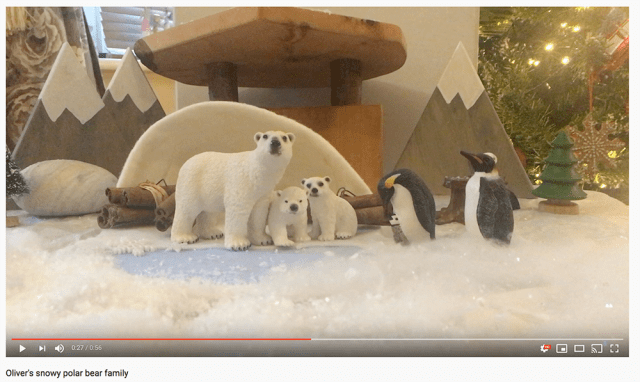
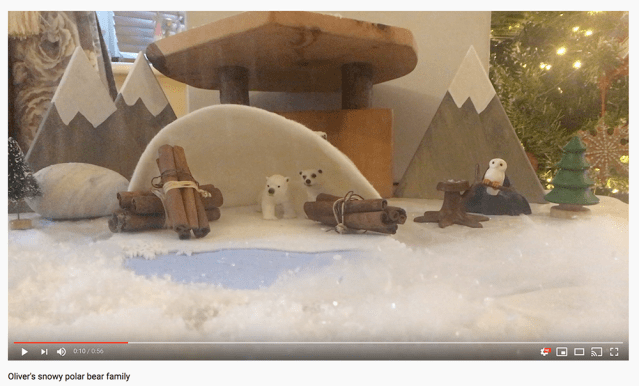
Once complete, you can add music, a title/intro screen and an end screen – personalising it so that everyone knows it is yours. Show the finished animations to family and friends and school, and even upload to YouTube!

Check out my 9 year old’s simple videos on his YouTube Channel – Oliver’s Animation Studio
Links below:

Leave a comment