A recycled cardboard box craft to make a castle. The perfect addition to your small world play. The castle slots together with 2 simple pieces and can be stored away easily. It could be a King’s Camelot Castle or a Fairy Princess castle. You could have dragons in the dungeon or Trolls in the library! Decorate your castle how ever you like – you could even have a Frozen Castle painted blue and sprinkled with bio glitter to make it sparkle. Light it up with fairy lights!
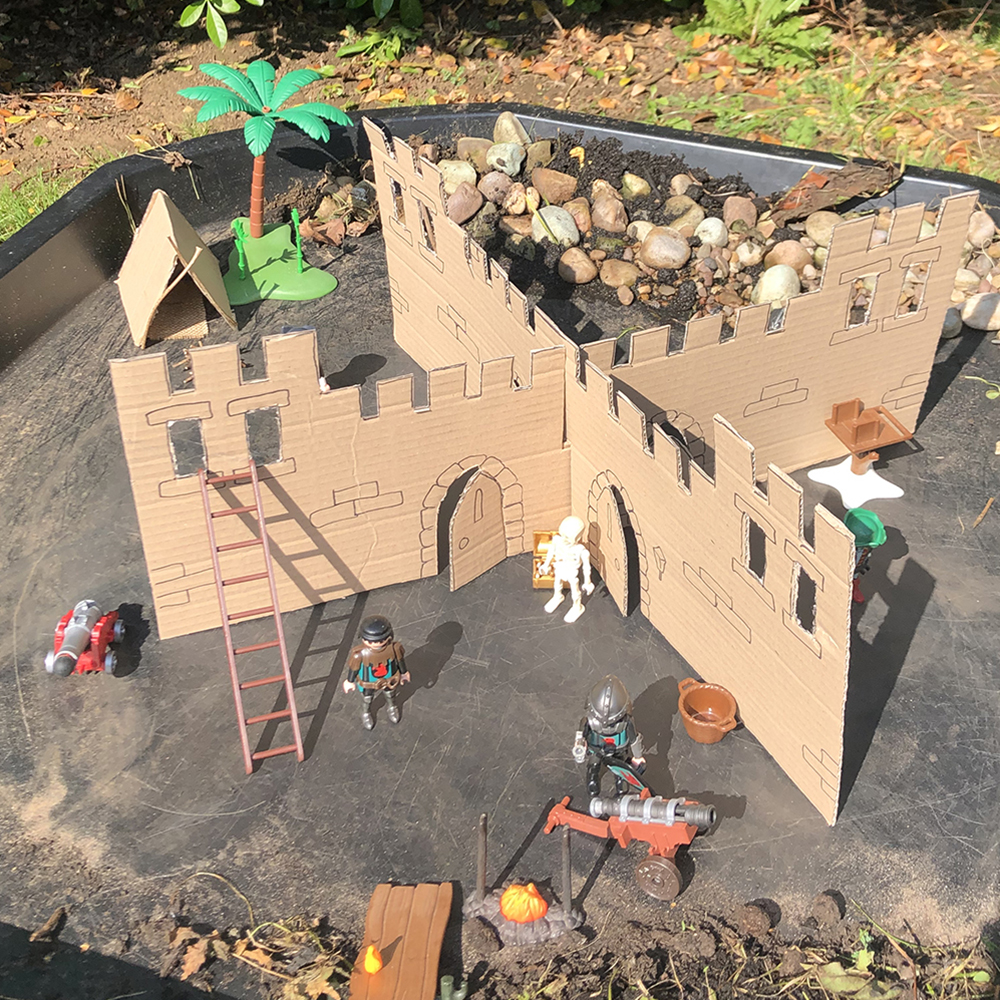
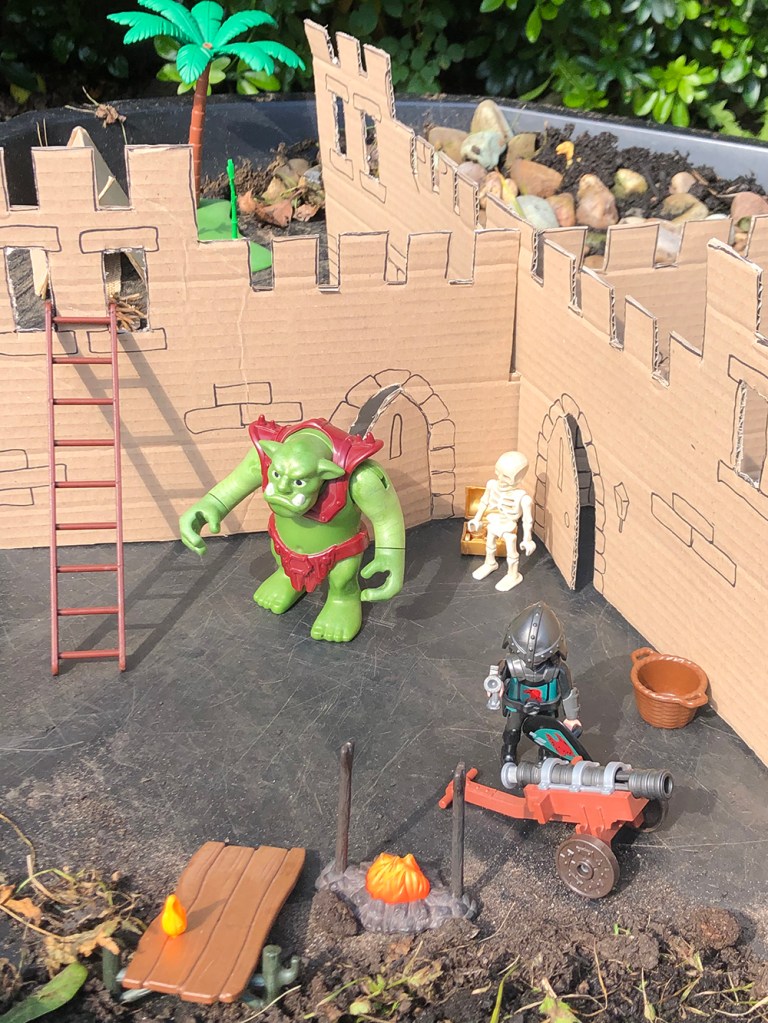
We made ours into a Knights Castle on this occasion, with opening doors too for the Knights and Skeletons to cross from room to room.
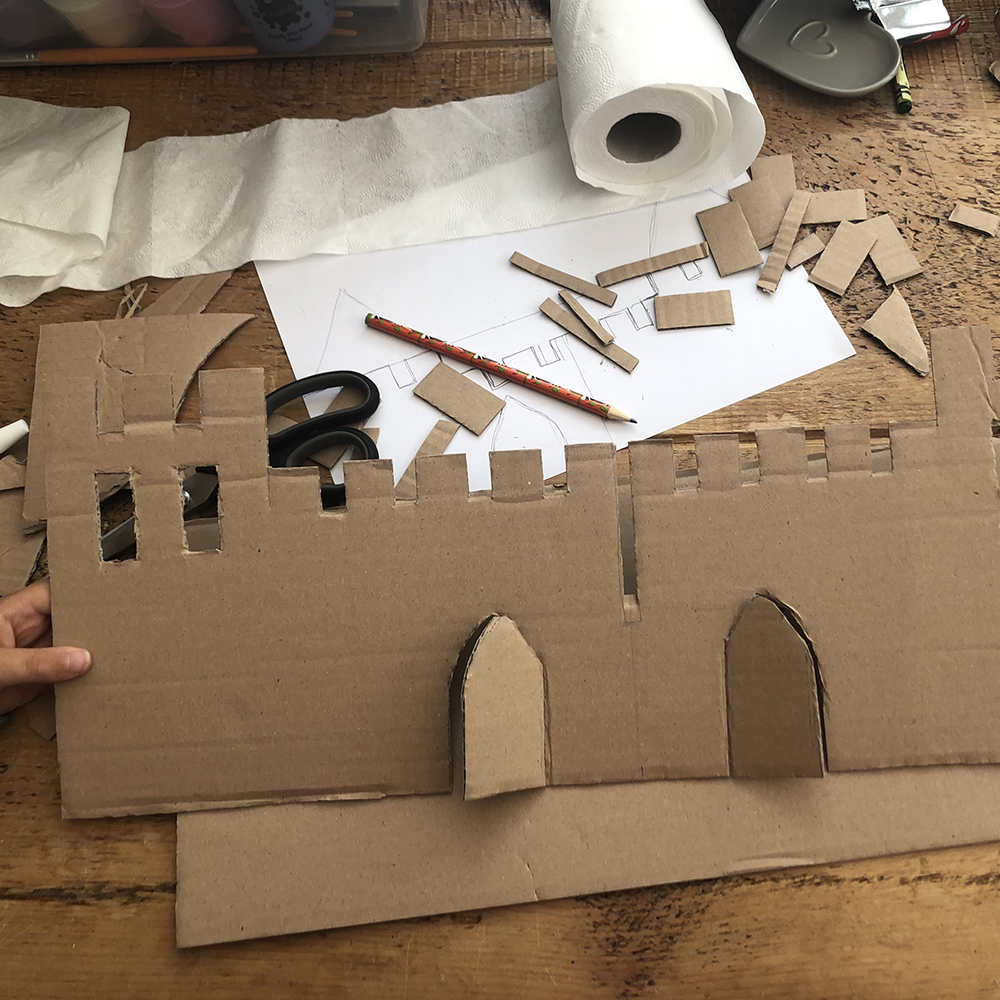
First, we drew a plan of how we wanted the castle to look. We needed to flat pieces, with a cut in the centre of each for them to slot together.

Once we had drawn a guide on the cardboard we started to cut it out the two pieces. We used a craft knife to carefully cut the windows and around half of each door – so that they fold back – open and close.
The central slots need to be – one from top to middle, the other from bottom to middle – so that the two pieces slot together and both stand up well and support each other.
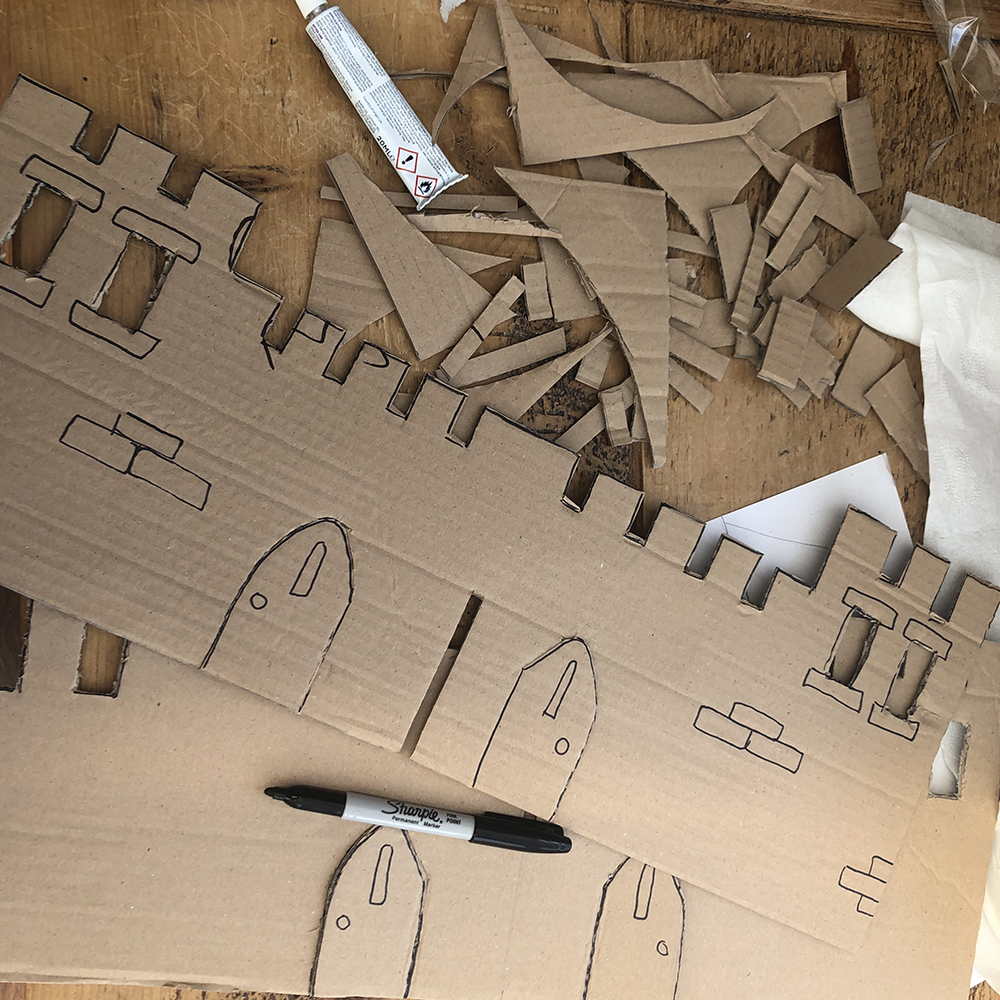
We added detail such as brickwork to each side using a black Sharpie.
The boys then tested it out and set up their own small world scene in the Tuff Tray.
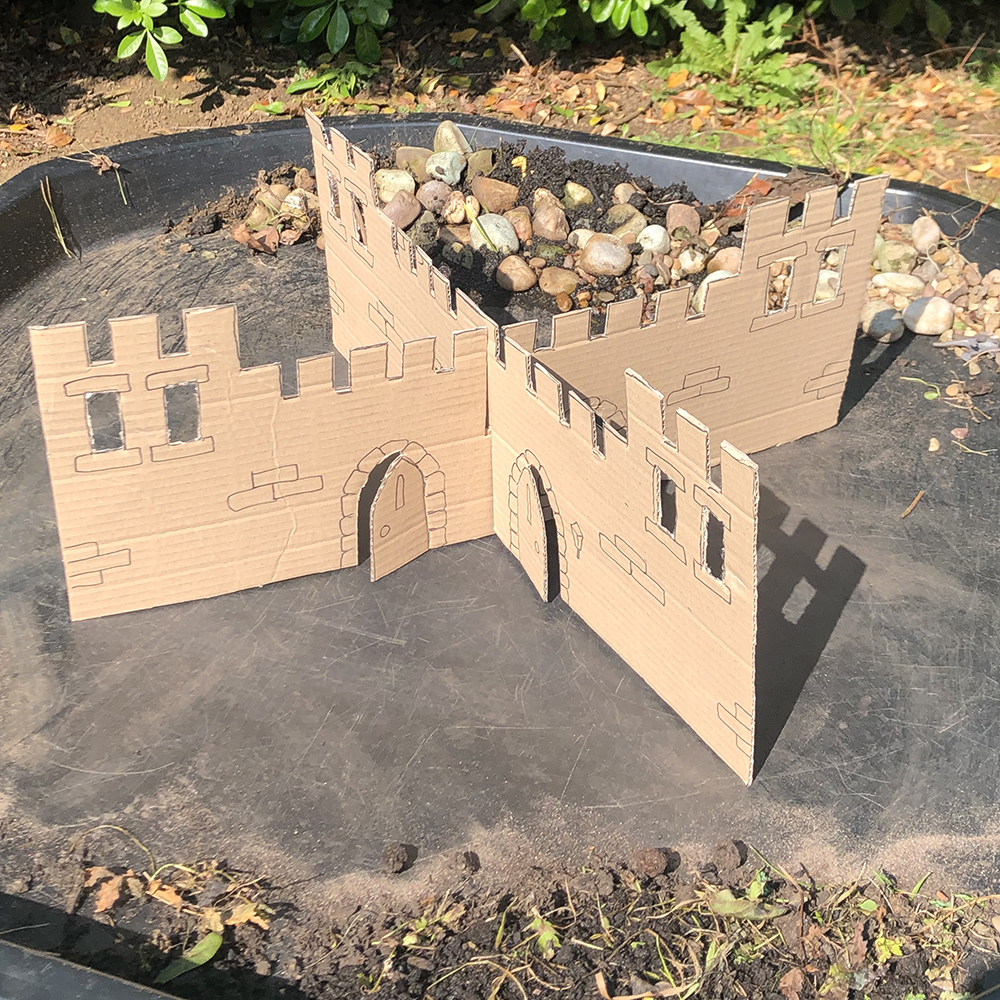

We like ours au natural, but you could paint the castle in whatever colours you like. You could use a sponge for a stippled effect.
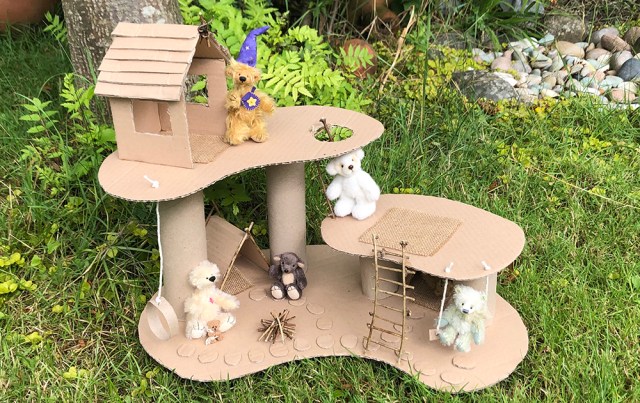
Check out our recycled cardboard Treehouse here.
For more ideas, please subscribe to this blog to get an email every time we post a new project. Or, follow us on our Social Channels below:
Follow us on our social channels:
Subscribe to our blog:
Get new content delivered directly to your inbox.

Leave a comment